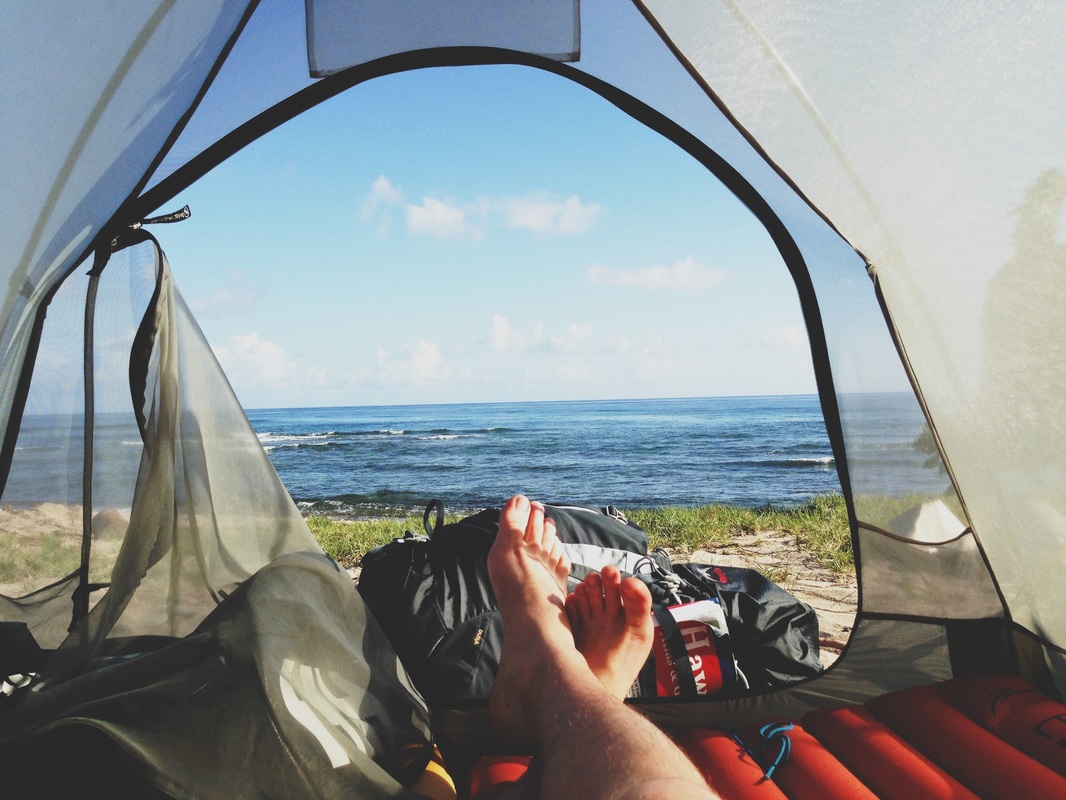
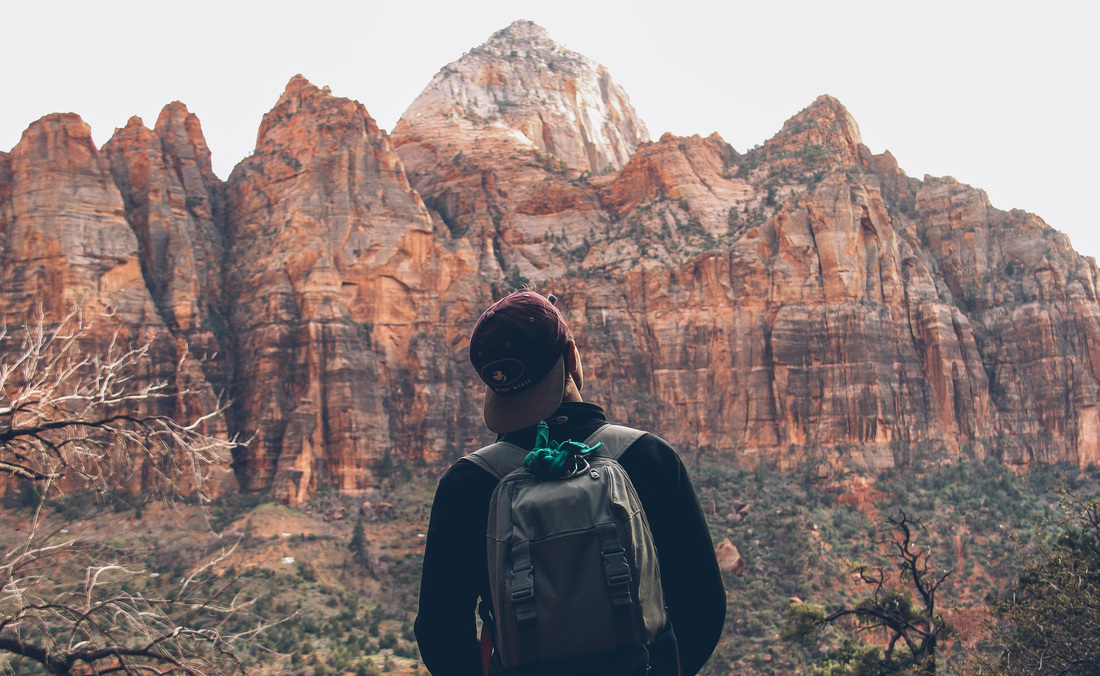
I'm James. This is my year of travel.

  
Be aware! Leaving it to Default may lead to ugly texture artefacts!! Select compression BC3/DXT5, mipmaps to be generated, open Advanced Options and select Luminance or Distance as color selection. Obviously you have to select the right plane folder for saving the file for example C:\Games\Rise of Flight\data\graphics\Skins\Spad7ġ1. If you don't see this file type for choosing, probably there's a problem with the plug-in installation. Now click File/Export, select file type DDS image. Then select Channel Alpha and click Addġ0. From the Layer/Mask submenu, select Add Layer Mask tool. From the Color menu select Brightness-Contrast tool and set a Brightness of -115, this may vary depending on the template and on the colors you have used for editing the skin, feel free to experimentĩ. Once finished, from the image menu click Flatten Image, you will get one layer aloneĨ. Set the DRAW HERE layer to 100% opacity and unleash your artistic veinħ. Save the project in xcf GIMP format for future use as templateĦ. Be careful to respect the original order, like thisĥ. Click and drag all layers to the root level, otherwise they will not work as intended. Download the GIMP DDS Plugin actually 2.2.1 and extract the dds.exe in the right folder, usually C:\Program Files\GIMP 2\lib\gimp\2.0\plug-insĤ. I'm writing this doc to share what I've discovered, mostly by trials and errors since I'm not a graphic designer nor expert of image manipulation of any kind.ġ.
0 Comments
Leave a Reply. |
 RSS Feed
